There is a lot of confusion out there when it comes to resizing digital images for digital display. We talk about resolution but based on questions that I get in my workshops it is clear that not everyone really understands what resolution actually means and what to do about it when managing their images for display on their websites or social media.
DPI, dots per inch, and PPI, pixels per inch are the two resolution choices we see in the Image Size dialogue box in Photoshop. DPI does not matter for web display as it is a term that is intended for when you are printing your photograph. Pixels are what digital images are made of and they are square not actually dots. Also, dots have space between them, and pixels do not. Also, pixels do not have a fixed size. For digital display, we need to pay attention to the PPI.
At its most basic, resolution means the amount of detail in an image. The higher the resolution, the more detail there is in a digital photograph. That is fairly easy to comprehend, but the understanding breaks down when we talk about what makes up that detail or information in a photograph and what to do with it when resizing images.
As I said above, our images are made up of pixels. The number of pixels we see is determined by the capture device. Pixels themselves do not have a fixed size. A pixel is a unit of a digital image, but overall resolution depends upon the size of the pixels (and the viewing distance). The smaller the size of a pixel, the higher the resolution of the image will be and the clearer the image will be.
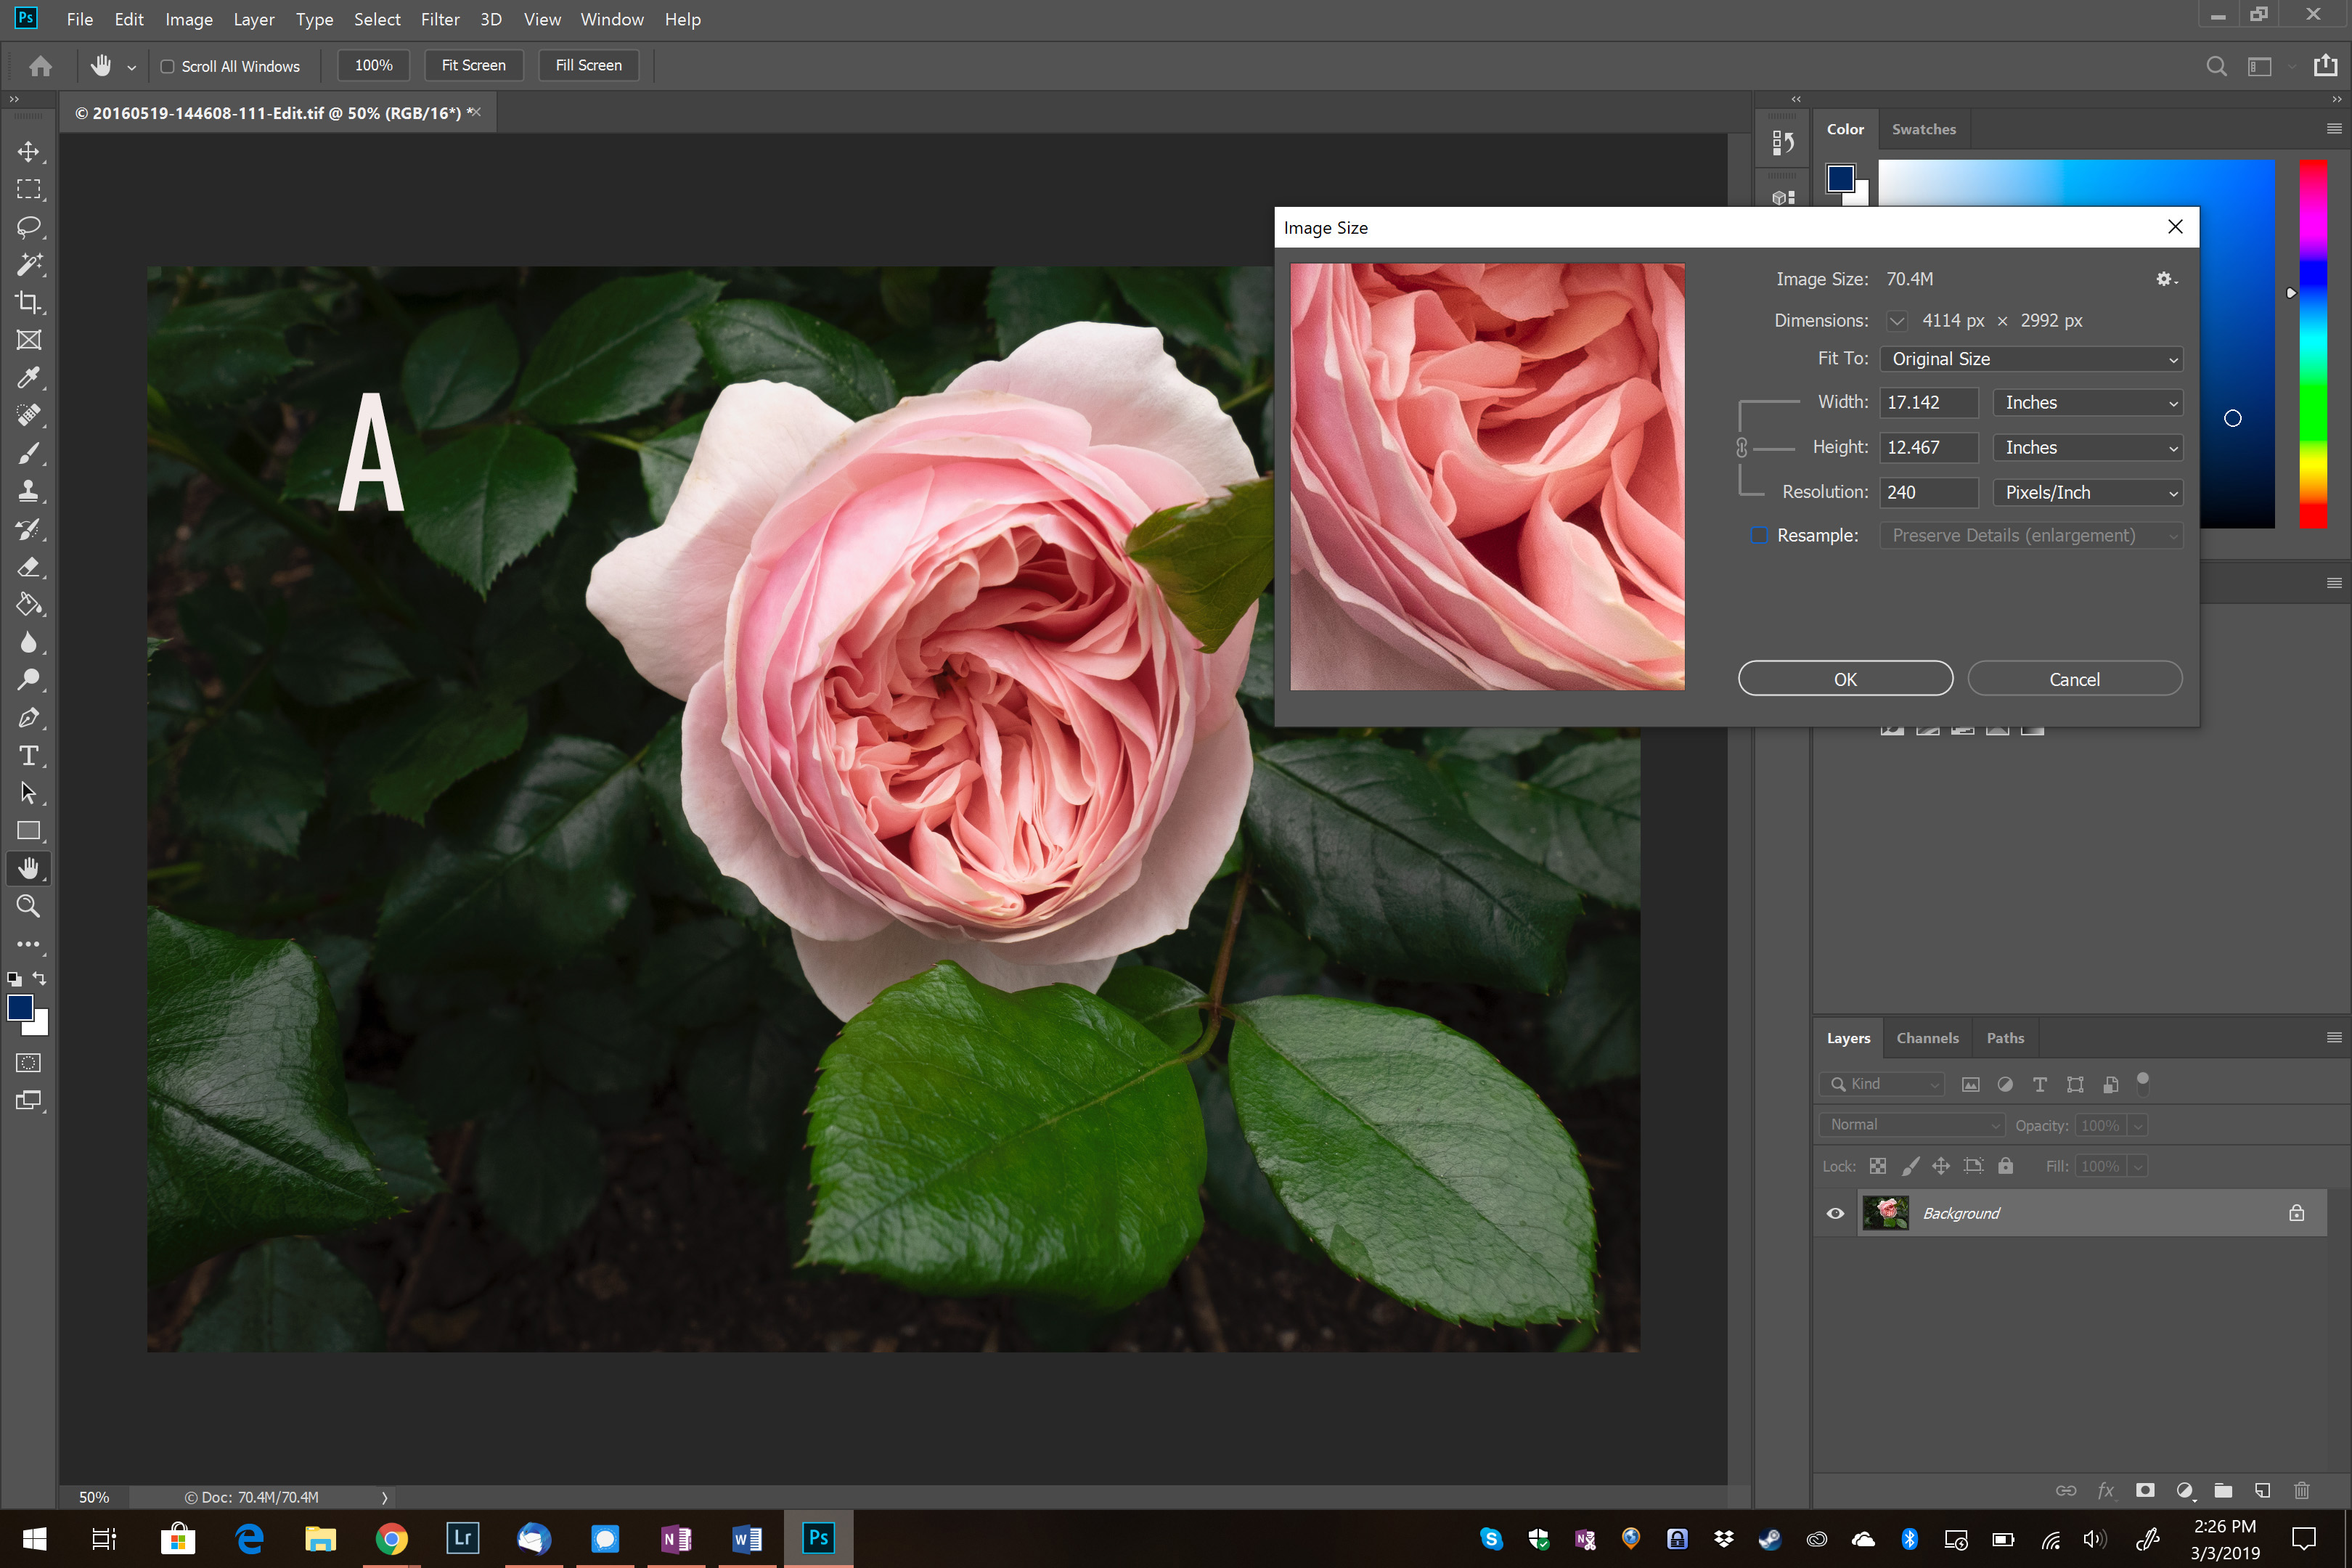
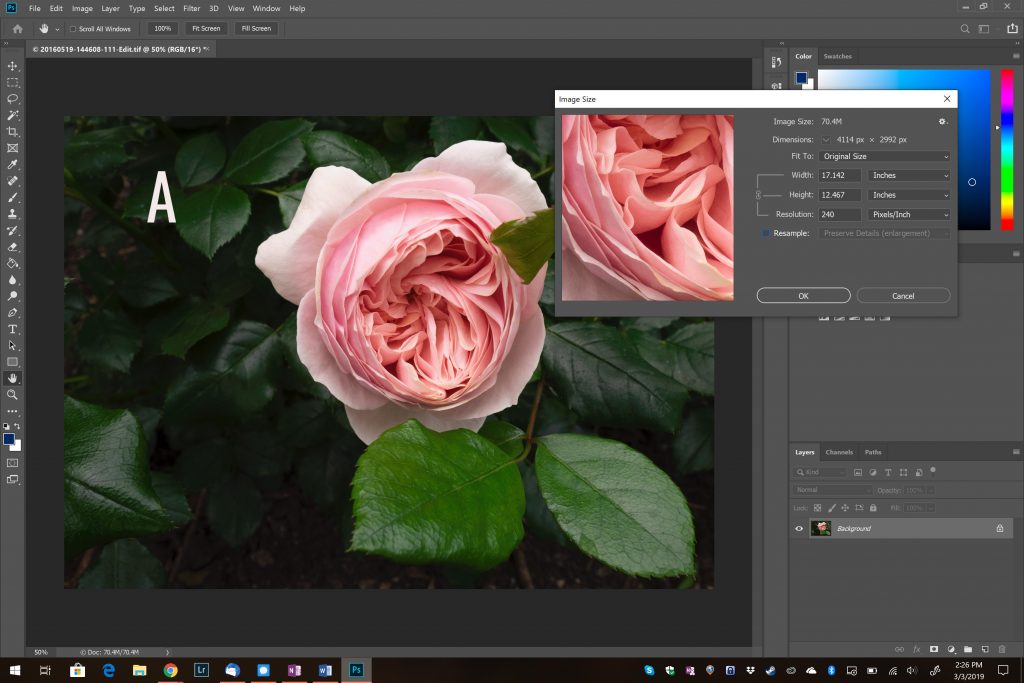
When you open the Photoshop Image Size dialog box, you will see a section called “dimensions”. It will have the dimensions of your image, say 4189px x 2992px. We know that if you printed the image, it’s physical size would be 17.454 x 12.467 in. These dimensions are calculated by taking the total number of pixels and dividing by the number of pixels per inch which we see under “resolution”. This means that 4189pixels/240ppi = 17.454 inches on the longest side and 2992pixels/240 = 12.467 inches on the shortest side. (Image A below)
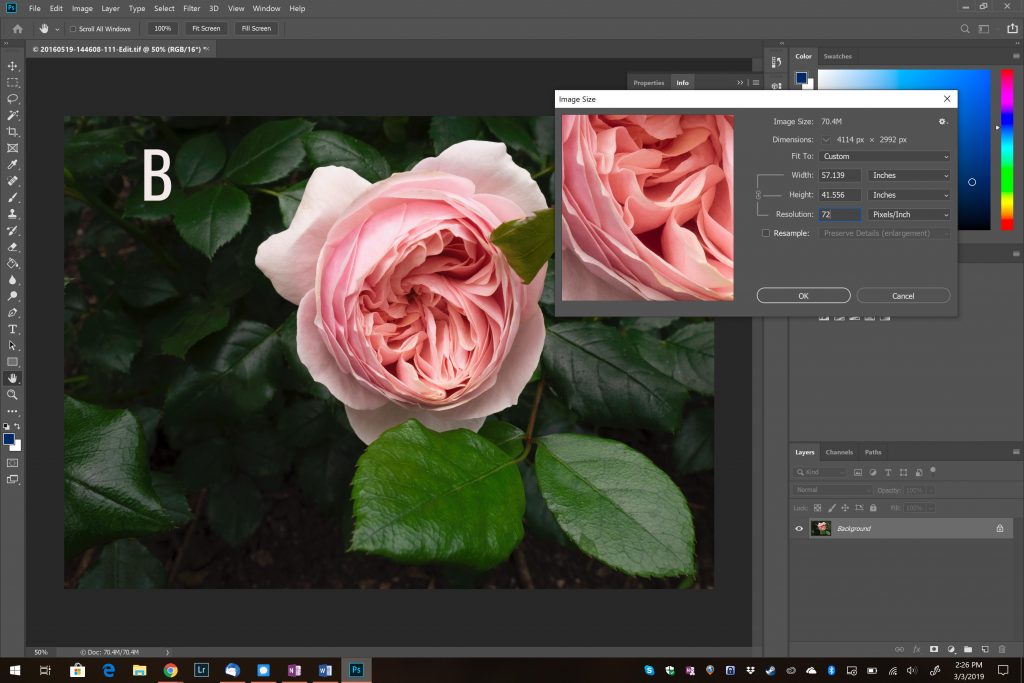
This shows us that print size is based on how tightly the pixels are squished together. If we decrease the PPI to 72, the print size increases to 57.139 x 41.556 inches. (Image B below)
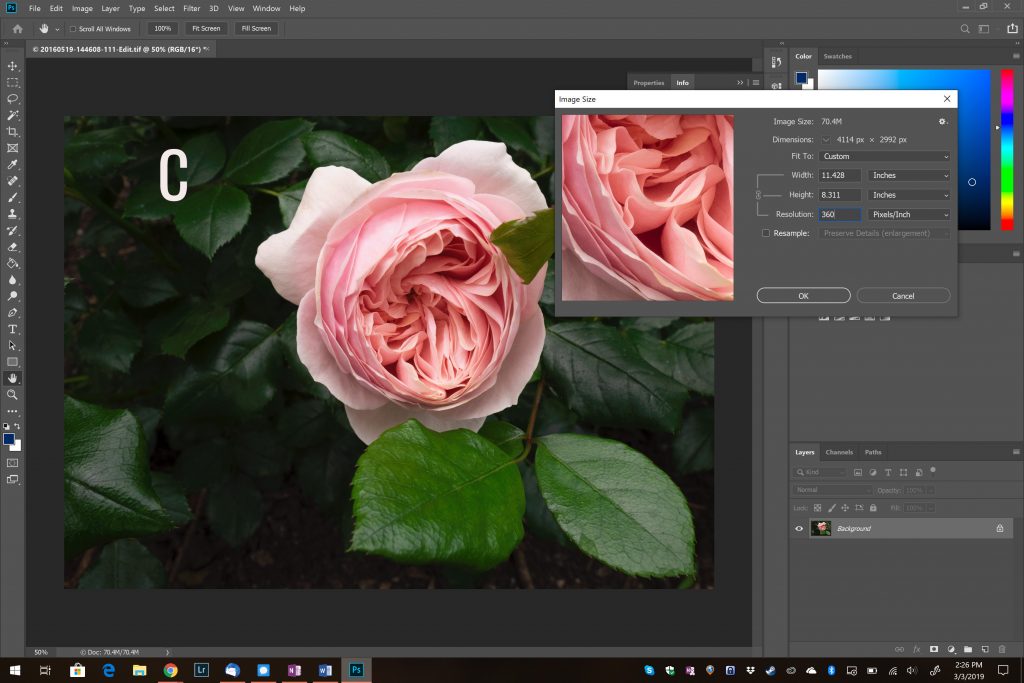
If we increase the PPI to 360, the print size goes down to 11.428 x 8.311 inches. (Image C below)
Resampling is also important to understand. Resampling is resizing an image by reducing or increasing its number of pixels. If we want an 8×11 print from this image, how do we resize correctly?
Say we want to change the size of the print but keep the resolution at 300 PPI, which is a common standard at a lot of professional photo labs, we simply type the new dimension into the dialog. Photoshop will throw away or create the needed number of pixels to get the dimensions to work.
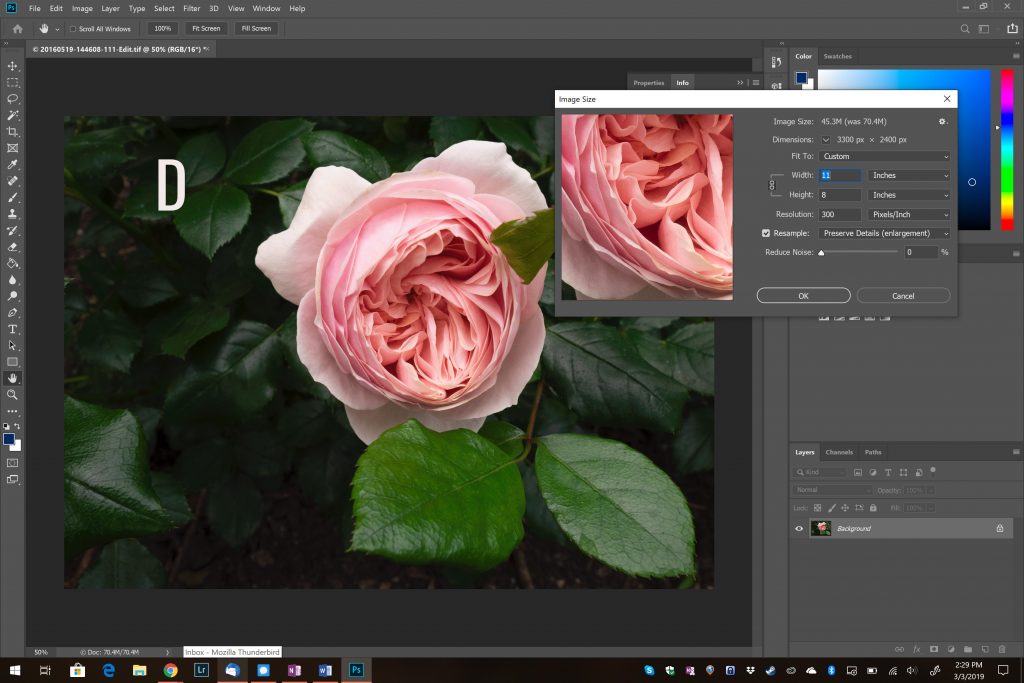
In Image D below I have checked resample back on and changed the resolution to be 300 ppi and the dimensions to be 11×8 inches. This changes the pixel dimensions to 3300px x 2400px.
In Image E below I have checked resample off and kept the dimensions at 11×8 inches. The resolution changes to 374 PPI and the pixel dimensions change to 3300px x 2400px.
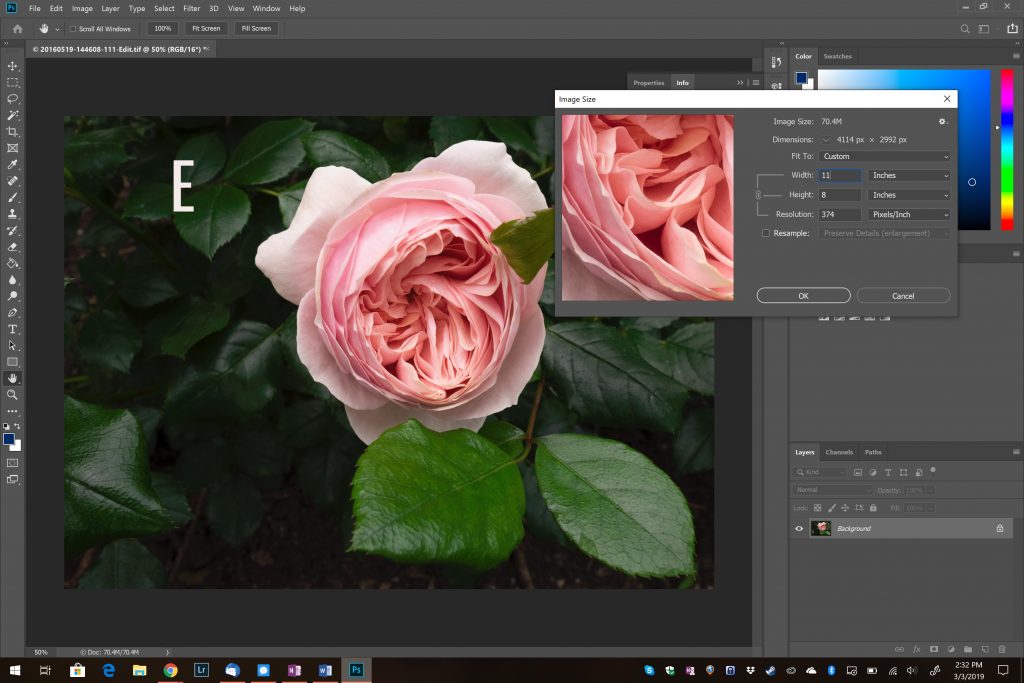
You can always change the resolution of an image without it affecting the number of pixels in the image. This is important to understand. The resolution (remember is PPI) is simply a printing instruction. If we change the resolution without changing the number of pixels in an image (by making sure “Resample Image” is unchecked), we DON’T change the size of the file either. The only two factors controlling file size are number of pixels and image format and compression. When we uncheck the “Resample Image” checkbox, the pixels are greyed out in the dialog box and the only thing that can change when changing the PPI is the document size. It has no effect on file size, but it’s useful to understand all of this when printing. Doing it this way does not affect the pixels.
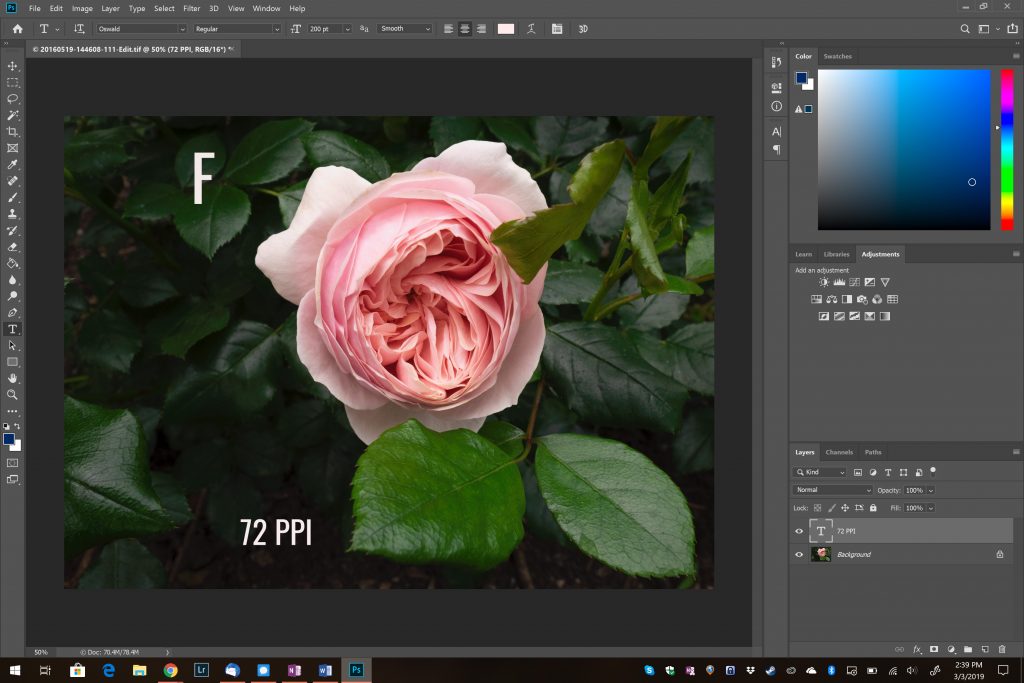
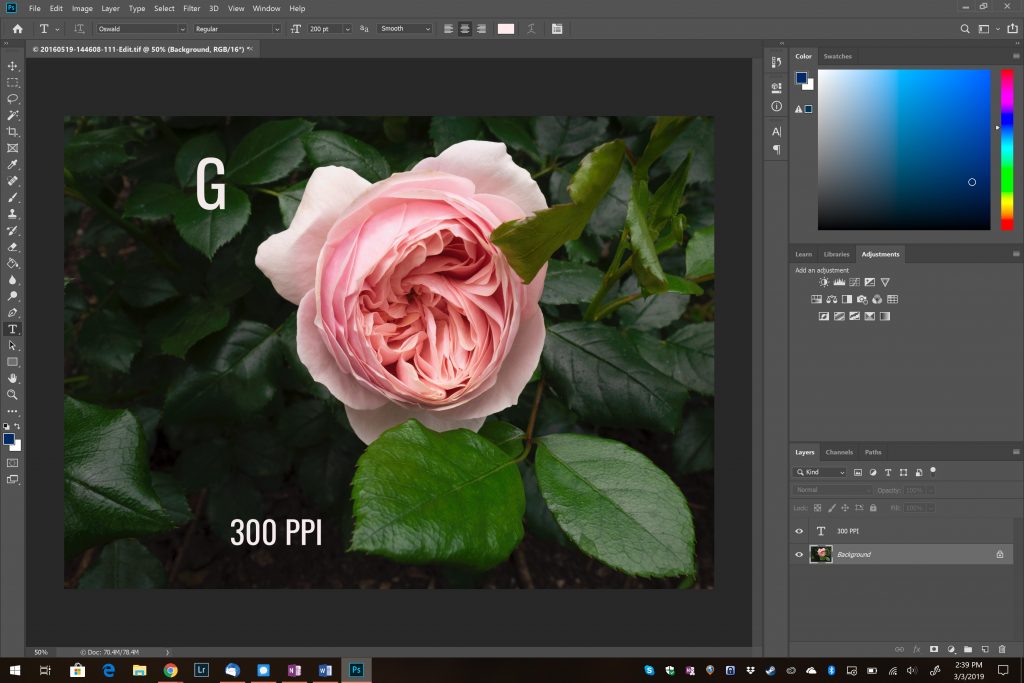
Now, 72 PPI and what it means. The default has become an industry standard for the web, but I’m not sure why. My guess is that someone at some point said that it should be 72 PPI and from that time, it was 72 PPI. The PPI of an image makes no difference to the file size and neither does it make any difference to the visual appearance of an image on a monitor. It is the screen system itself that decides how much space a pixel takes up on that screen. See examples of an image at 72 ppi, 300 ppi, and 1000 ppi. It has no effect on the file size or on-screen appearance.
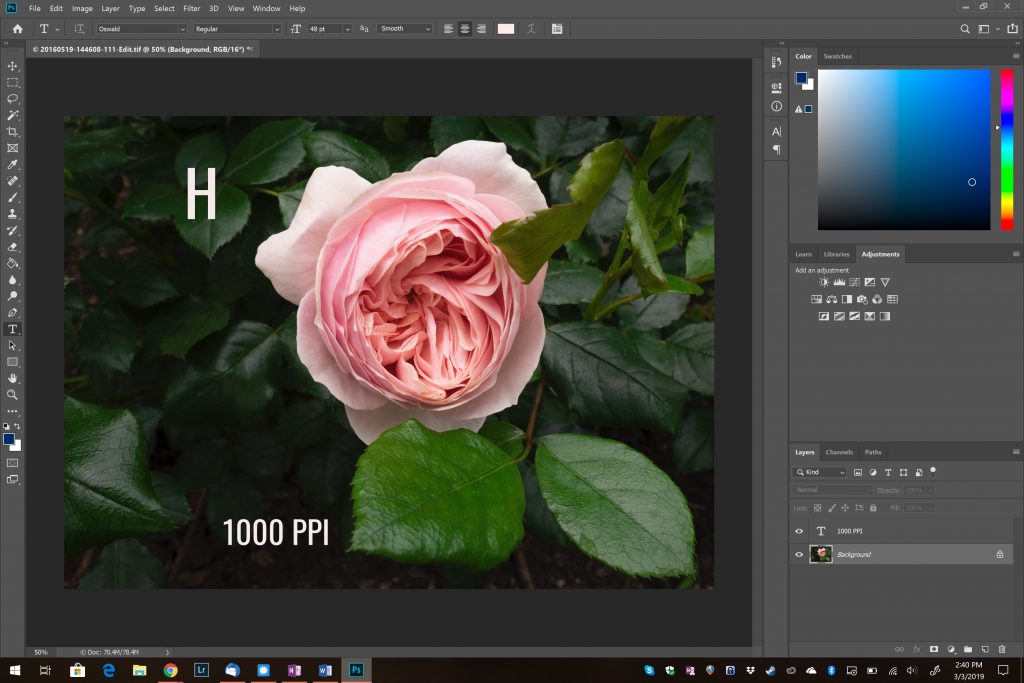
So, resizing for the web is not that difficult. Basically, you resize the image in pixels at the size you want it to display. It has more to do with the display itself than the image. For example, most of my images on my WordPress website are 1024 px on the longest side. The website theme that I have through WordPress, the resolution of the computer screen, and the total number of pixels in the image are what determine the best size for the image on the digital screen.
So, forget the PPI of the image. For many, 72 PPI is what they set for their web images, but really it does not matter. I suspect that many do it for consistency and because many people use the “save for web” function or as it is now called “Export as” feature in Photoshop, which does this automatically. Deciding on a size for the longest side is dependent on the screen and load times. Having an image that is 2400px on the longest size, will load slowly on a screen with a max resolution of 1024px. The image will just be too big to load quickly. There are screens that go higher than 1024px, but right now, based on technology, the 1024px is a good standard to set your image to for a responsive website theme – meaning it responds to different viewing platforms – laptop, tablet, cell phone, etc.
I hope that this clears up what is meant by resolution in relation to displaying images and how to resize images for your chosen display method.
